OpenDroneMap on CentOS 7

with No Comments

Installing a Low Cost (or No Cost) Drone mapping solution on CentOS 7 Linux.

Drone mapping and 3D modelling solutions range from free or very reasonable cost, to very high end solutions, with a price tag to match! Here we’re going to install a free, open source application, onto a free Operating System.

Having previously installed, and utilised OpenDroneMap on a Mint 18 Linux Laptop and Workstation, as well as a Windows 10 Desktop, we took the opportunity, when rebuilding a dual boot video, photo and audio editing machine, to use CentOS 7.7 (mainly so we could utilise Davinci Resolve in a linux environment) as the dual boot OS alongside Windows 10.

As it was, the install of OpenDroneMap was quite straightforward, using most of the documentation provided on their documentation pages.

Our workstation setup.

Our workstation consists of a ZooStrom Origin PC, Intel Core i7-7700 3.6GHz, 16GB RAM, to which we added an Nvidia GeForce GTX1060 6GB GPU (And an upgraded PSU as the one supplied with the Zoostorm Origin isn’t up to the task of running any sort of GPU)
We also added a 500GB SSD to serve both Windows 10 and CentOS 7, leaving the 2TB disk for data

As is the norm with such instructions, they come with no warranty, and should you decide to follow them, you do so at your own risk! REMEMBER to take backups of your data before beginning!

We started with our Base build of CentOS 7, and ensured that it was updated to the latest levels of patches.

Installing the required ‘extras’ to ensure that OpenDroneMap can run.

As ‘root’ run the commands:

    # yum check-update
    # yum upgrade

(If the kernel has been updated, then you should probably reboot at this point)

When you’re happy that the system is up to date, then you need to add the extras that are needed to run OpenDroneMap.

As the ‘user’ that you need to run the software as, run the commands:

    $ cd ~
    $ curl -fsSL https://get.docker.com -o get-docker.sh

    $ sh ./get-docker.sh
    $ sudo yum -y install git python python-pip
 

This should have installed docker, git, python and pip, as they are all required.

‘docker-compose’ is also required, you can check it is installed by running the command:

    $ docker-compose –version

Which should return a version number. If not, then it needs to be installed by using the command:

    $ sudo pip install docker-compose

This command did not work for us, we had to use the commands:

    $ sudo curl -L “https://github.com/docker/compose/releases/download/1.25.1/docker-compose-$(uname -s)-$(uname -m)” -o /usr/local/bin/docker-compose

(Using the current docker version 1.25.1)

    $ sudo chmod +x /usr/local/bin/docker-compose

Setting up ‘docker’ to run and enabling it to start at boot time.

Although it’s possible to run OpenDronemap as the ‘root’ user, it’s not recommended to do so. To enable your user to run the software, you need to add the userid to the ‘docker’ group. This can be done with the command:

    # usermod -aG docker username  

To start docker, and enable it to be started at boot time, the commands that need to be run, as root, are:

    # systemctl start docker
    # systemctl enable docker

Downloading, installing and running the application.

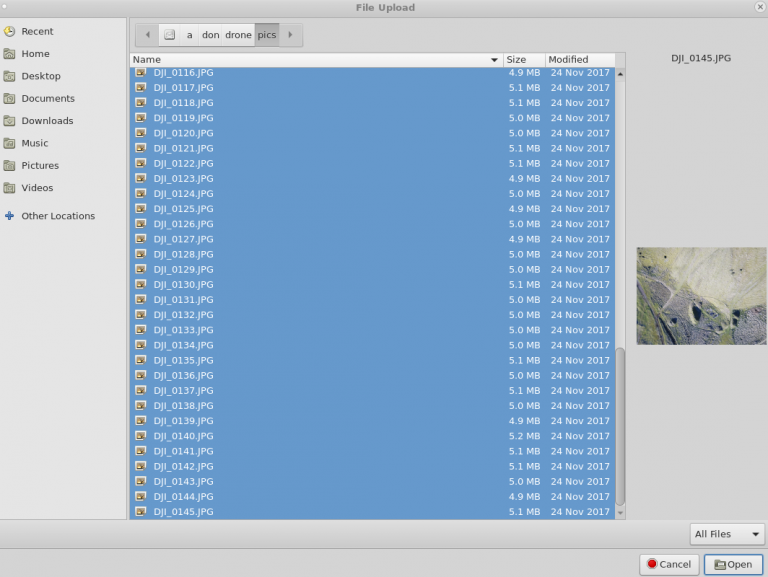
From your home directory, as your userid, run the commands:

    $ cd ~
    $ git clone https://github.com/OpenDroneMap/WebODM
    $ cd WebODM
    $ ./webodm.sh start

If you get an error stating that there is a problem connecting to http at this point, ensure that you’re in the docker group. If the output to the command:

    $ groups

doesn’t show ‘docker’ as one of your groups, then log out and back in again.

Hopefully you should see quite a lot of output, and no errors.
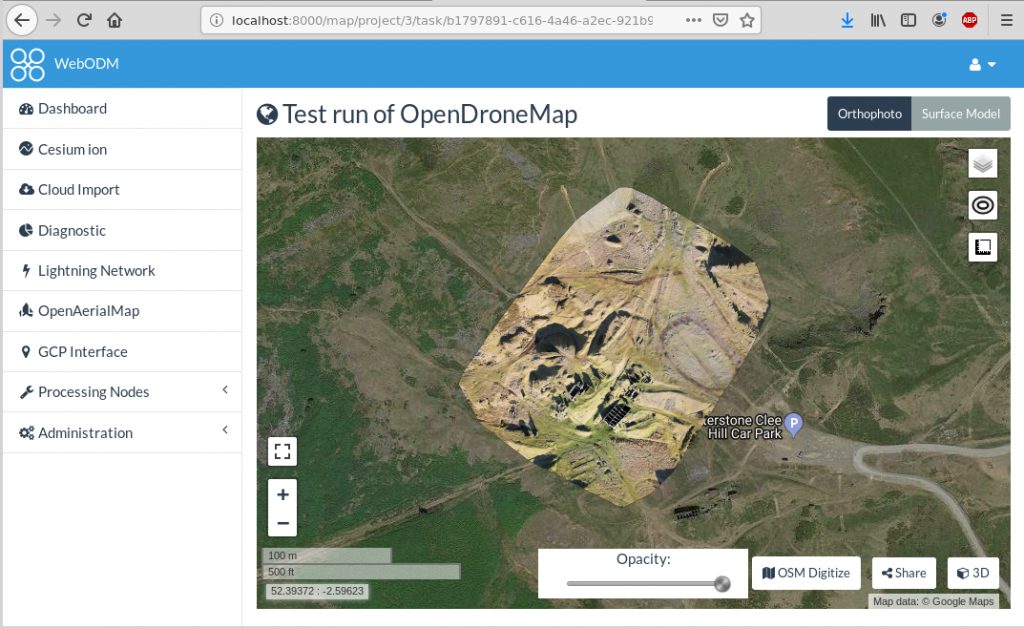
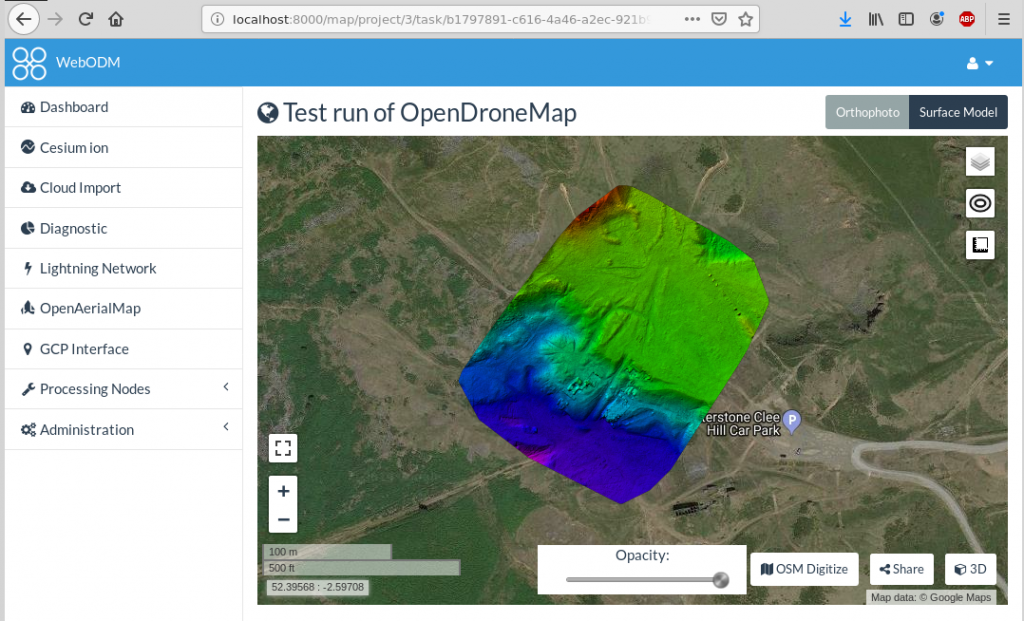
If successful, you should be able to browse to port 8000 on localhost, where you’ll be prompted for a username and password.

Once these are setup, you should be able to login to your dashboard.

OpenDroneMap Dashboard
Adding a project.

To add a project, just click on the ‘Add Project’ button, give it a name and description:


Adding a new project
Adding a new project, name and description.

Then, ‘Create Project’

Select the images (and GCP if you have any)
Click on select images and GCP

Browse to the location of the files you want to process and add them.

The selction of files
Select all files that are required

Review the project, and add a task name

Review the project
Review the project and add a name.

Then, ‘Start Processing’, go and make a cup of coffee, it may take a while!

30 minutes and 40 seconds to be precise for these 80 photographs!


Project completed, click on 'view map'

Clicking on the ‘View Map‘ button should give you an orthophoto image, superimposed on Google Maps Satellite View (It may not completely line up as we didn’t use any GCPs with this old data set)

The orthophoto produced my ODM, land mapping drone, commercial drone photography building inspections UAV survey
The orthophoto produced by OpenDroneMap

Clicking on the ‘Surface Model‘ button, will display the relative heights of the area flown.

A surface model indicating the relative height of the are flown, land mapping drone, commercial drone photography building inspections UAV survey
A surface model indicating the relative height of the area flown

Clicking on the ‘3D’ button allows you to view the ‘3D model‘. The ruins of the building are not fantastic in this view due to the drone only taking nadir photos, as I discussed, this is a particularly old set of photos, not really having the overlap to produce the best 3D models!

a basic '3D model' produced by OpenDroneMap
Was it all worth it?

Services like Maps Made Easy are well worth a look at, for low cost, or even no cost (if you keep within your limits), and no doubt, the larger companies have their place, albeit being quite expensive for people who don’t need to do drone mapping on a day to day basis.
However, since OpenDroneMap is essentially free (a reasonably priced installer is available for Windows and Mac users) it has to be worth a look at, even if it’s a ‘stepping stone’ to higher priced commercial systems. If you have a reasonably specced PC it can provide a great introduction to mapping with drones, especially using CentOS, Ubuntu, Debian or Mint Linux!

As with any ‘open source’ software, if you find it useful, the developers would appreciate any donations to keep their products up to date, and free!


Drone / UAV Mapping and 3D modelling from Clear Sky Imaging.
If you have any need for Drone / UAV mapping, or installation help for OpenDroneMap on CentOS 7 (or any other platform), please don’t hesitate to contact us.
Comments are closed.